How to Finish Wood Dollhouse Miniatures
Preparing Wood for Finishing
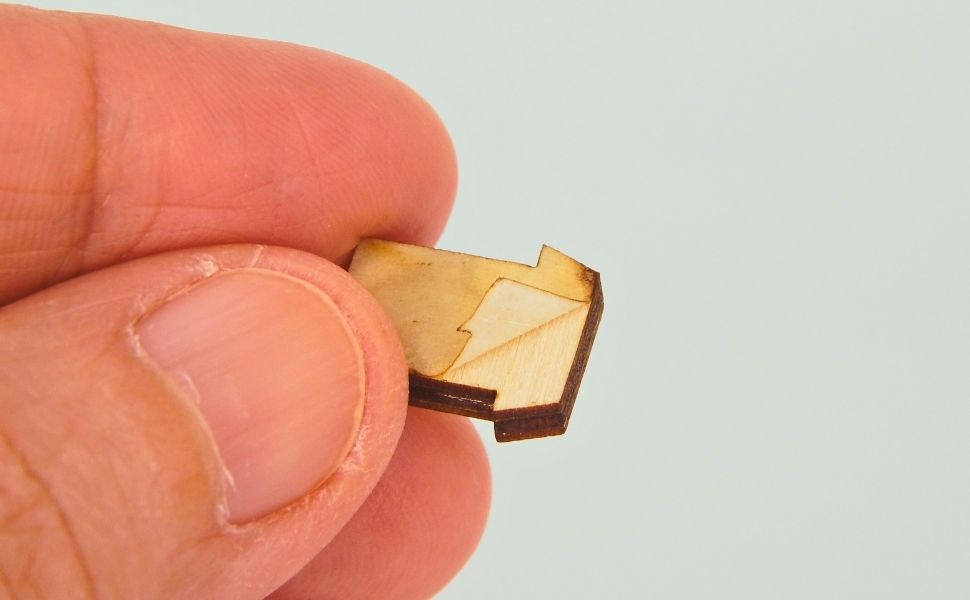
Preparing wood miniatures for finishing involves a few essential steps to ensure a smooth and pristine surface. Firstly, when working with laser-cut pieces that have masking paper or masking material, it's important to remove the masking tape underneath. Masking paper is applied to protect the wood from potential laser damage during the cutting process. Carefully peel off the masking tape, ensuring not to damage the delicate wood surface. If the wood piece does not have masking tape, go to the next step below.

Gently sand the top and bottom surfaces of the wood miniatures. Using fine sandpaper with a grit of 220, lightly sand the surfaces to remove any residual burn marks or rough edges. Sanding helps to smoothen the wood and prepare it for the application of finishing. Be careful not to apply excessive pressure or sand too vigorously, as it may damage the delicate details of the miniatures.

You can use an old toothbrush, preferably one with soft bristles, lightly brush the wood surfaces in a sweeping motion. The bristles of the toothbrush effectively dislodge and remove the fine wood particles, resulting in a cleaner surface. This step is particularly beneficial when working with porous wood types that tend to have more pronounced wood grain.
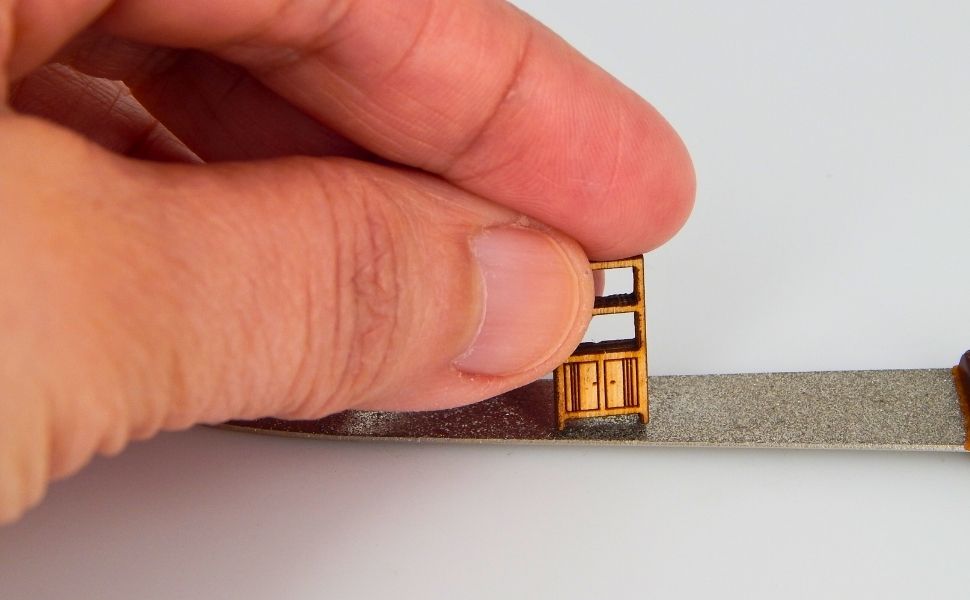
PRO TIP: If the micro pieces have legs, you can use a nail file to gently sand the bottom and ensure that they are level. This will help keep the tiny furniture balanced and stable.

Finishing Wood Miniatures

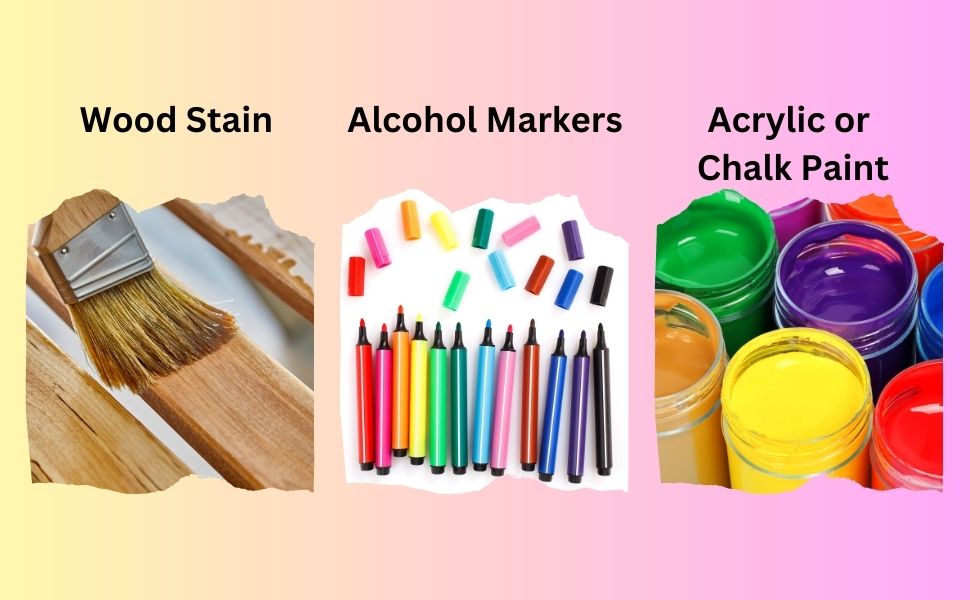
There are several types of finishing you can use on wood miniatures to enhance their appearance and protect the wood. Here are three popular options:
1. Oil Wood Stains: Oil wood stains provide a beautiful color to the wood while still allowing the natural grain to show through. For micro wood pieces, it is advisable to use light-colored wood stains like oak. Apply the stain with a brush or cloth, following the manufacturer's instructions. Allow it to penetrate the wood for the recommended duration, then wipe off any excess stain. This type of finish adds depth and richness to the wood while highlighting its natural beauty.
2. Alcohol Markers: Alcohol markers are a versatile option for adding vibrant colors and fine details to wood miniatures. They are particularly useful for intricate designs or small areas. Choose lighter colors for micro pieces to ensure the details are visible. Simply apply the alcohol marker directly to the wood, building up layers if desired. The alcohol-based ink dries quickly and provides a permanent finish.
PRO TIP: There are alcohol markers used for furniture repair that match the wood colors, such as oak, walnut, cherry, and more. This makes it easier to apply staining to small areas, as opposed to using stains in a pot.
3. Acrylic or Chalk Paint: If you prefer to completely cover the wood with color, acrylic or chalk paint can be excellent choices. These paints offer a wide range of colors and finishes. Apply the paint with a brush, ensuring even coverage on all surfaces. Acrylic paint dries quickly and provides a durable finish, while chalk paint gives a matte, vintage look. You can also experiment with layering different paint colors or using techniques like dry brushing to add texture and depth.
Remember to allow each layer of paint or stain to dry thoroughly before applying additional coats or handling the miniatures. Additionally, consider protecting your finished wood miniatures with a clear sealant or varnish to enhance durability and longevity.


