How to Finish Paper Printies
How to Finish Dollhouse Miniature Paper Printies: Enhance Your Miniature Creations with Detail and Realism

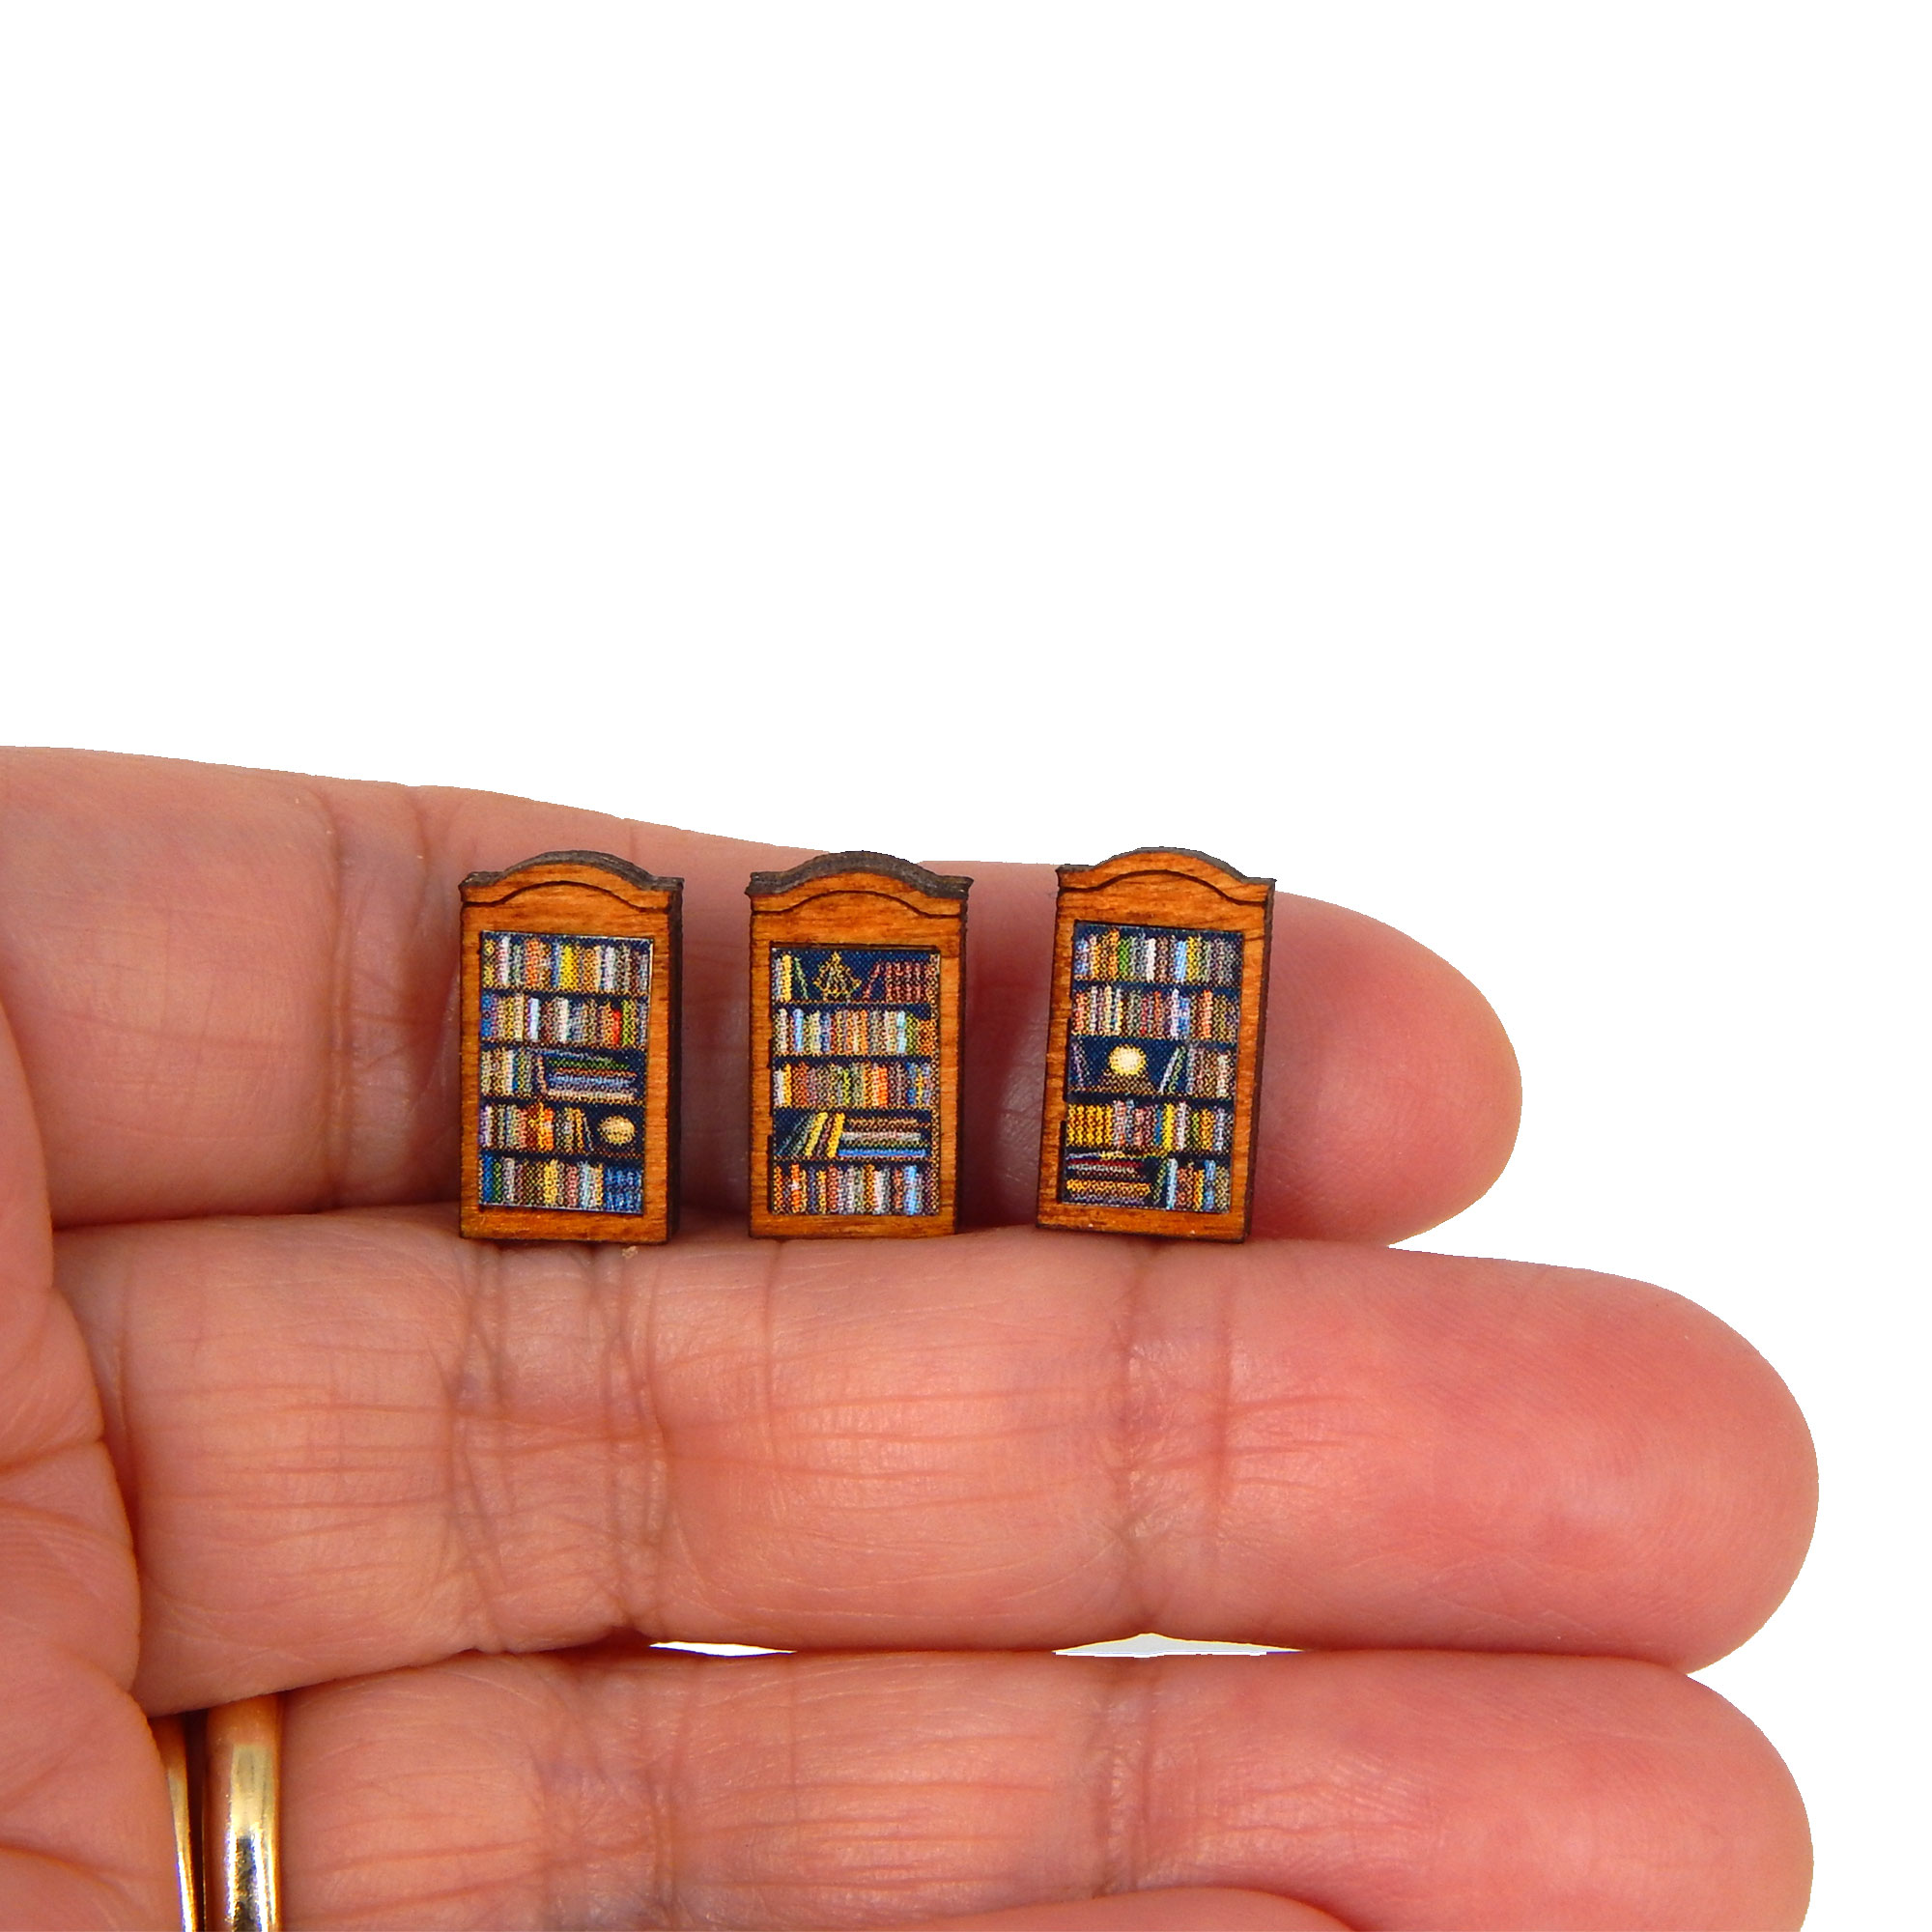
Dollhouse miniatures offer a world of creativity and intricacy. Adding more details to your dollhouse creation can be a challenge, especially when working on a micro miniature scale like 1/144 scale. Fortunately, paper printies provide a fun and versatile solution. By using paper printouts, you can design and incorporate almost anything into your dollhouse with remarkable detail. In this article, we will explore how to finish dollhouse miniature paper printies, bringing your creations to life.
1. Gather the Necessary Tools and Materials:
Before diving into the process, ensure you have the following tools and materials:
- Dollhouse miniature paper printouts
- Sharp scissors or precision craft knife
- Clear luster sealant
- Pencil or marker
- Cutting mat or a smooth surface for precision cutting
- Small paintbrush or sponge brush for applying sealant
2. Cutting the Paper Printouts:
To begin, use sharp scissors or a precision craft knife to cut through the paper printouts. Take your time and cut along the outlines, following the intended shapes and designs. Precise cutting will ensure clean edges and enhance the overall appearance of your miniature.
3. Applying Clear Luster Sealant:
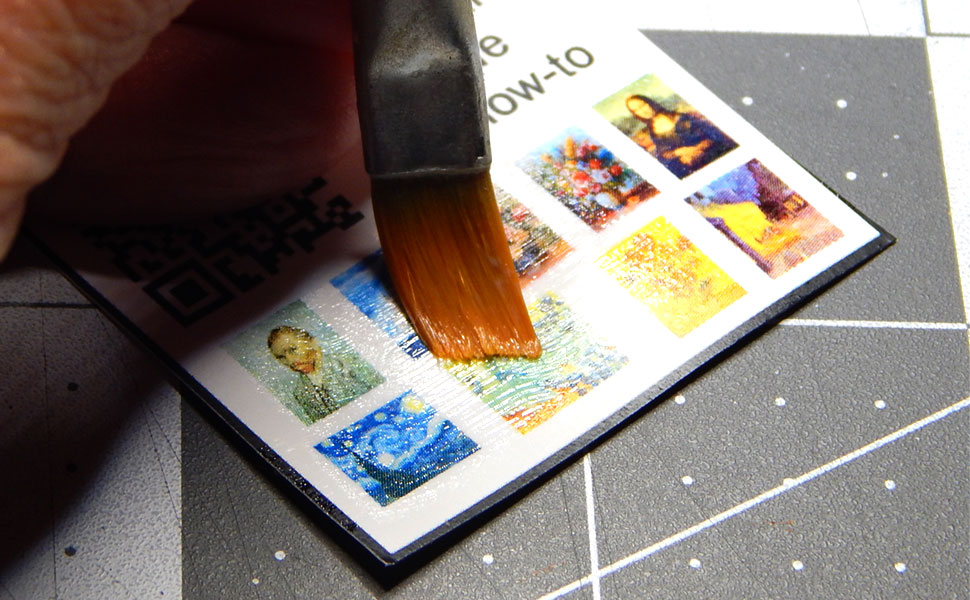
To make the graphics of your paper printies pop and protect them from wear and tear, consider using a clear luster sealant. This step is particularly important if you plan to use the miniatures in areas prone to moisture or frequent handling. Choose a sealant that is compatible with paper and suitable for miniature crafts.

4. Pro Tip: Coloring the Edges:
For an added touch of realism and dimension, take the edge of a pencil or marker and carefully color the edges of the paper printouts. By doing this, you eliminate the white edges that may stand out when viewed from the side. It creates the illusion of depth and enhances the overall visual appeal of the finished printout.
5. Applying the Finishing Touches:
Once the sealant is dry and the edges are colored, your dollhouse miniature paper printies are ready to be incorporated into your creation. Use them to adorn walls, floors, furniture, or any other desired area. Experiment with different placements and combinations to bring your dollhouse to life with intricate details.
Finishing dollhouse miniature paper printies opens up a world of possibilities for adding incredible detail and realism to your miniature creations. By utilizing paper printouts, you can design and incorporate almost anything to scale, surpassing the limitations of actual components. Remember to use sharp scissors, apply clear luster sealant for protection, and consider coloring the edges to enhance the dimensionality. With these techniques, your dollhouse will come alive with beautifully finished paper printies, adding a new level of charm and uniqueness to your miniature world.


